Topics Map > Academic Advising
Navigate360: Utilizing the kiosk for check-ins
How to utilize the kiosk within Navigate360 to allow students to check-in for appointments and events.
- Log into Navigate360 Navigate360: Accessing the Navigate360 Platform
- From the top of the Navigate360 page, click his symbol:

- Select kiosk

To ensure security of the student information stored within Navigate360, you will be logged out of the platform when you launch the check-in kiosk, but the kiosk mode will continue to operate as intended.
5) Select your location from the menu.
6) Choose the service you would like students to check-in for, or select "All Available Services."
7) The kiosk is ready for students to start swiping their UWL ID, or entering their ID number.
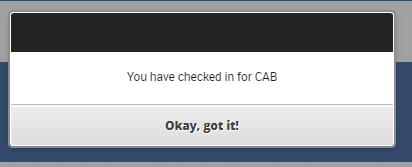
8) After a student swipes their ID, a confirmation message will pop-up that their check-in is confirmed, and then the screen will go back to the swipe in screen on step 7.