Topics Map > Academic Advising
Navigate360: Creating an Event
How to use the Event function in Navigate360 to communicate events with students, request RSVPs, and allow students to check-in for events.
- Log into Navigate360 ( Navigate360: Accessing the Navigate360 Platform )
- Locate the Campaigns and Events icon along the left menu bar.

- Locate the Events Menu. If you do not see this menu, you may not have the permissions needed. If you would like to have this function available to you, please email navigate@uwlax.edu
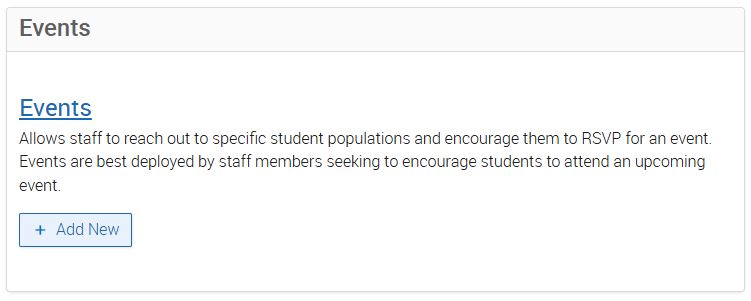
- Select "Add New" to create a new event

- Define the event
Menu of Event Creation Options 
This is the name that will only be seen by staff. Please include the Semester, and your name in the title: Example:
Katy Morrison SP25 4 Year Planning Workshop CASSH

Select the correct care unit for your event from the drop-down menu. 
What is the maximum capacity for the room where your event will take place. Maximum is 20,000 
If you would like invited guests to be able to bring guests, select the maximum number of guests per attendee. Enter 0 if you do not wish for guests to attend. 
By clicking this checkbox, it will make it required for students to receive an invitation to RSVP and attend this event. 
This is the event name that students will see in the invitation, RSVP page, and reminders 
Select the date that your event will take place 
Select the start time for your event 
Select the end time for your event 
Select the correct time zone 
What is the name of the location for your event? 
Enter the address information for your event (if applicable) 
Decide the window of time where students will be able to register for the event.
Select Continue when you are done and ready to move on.
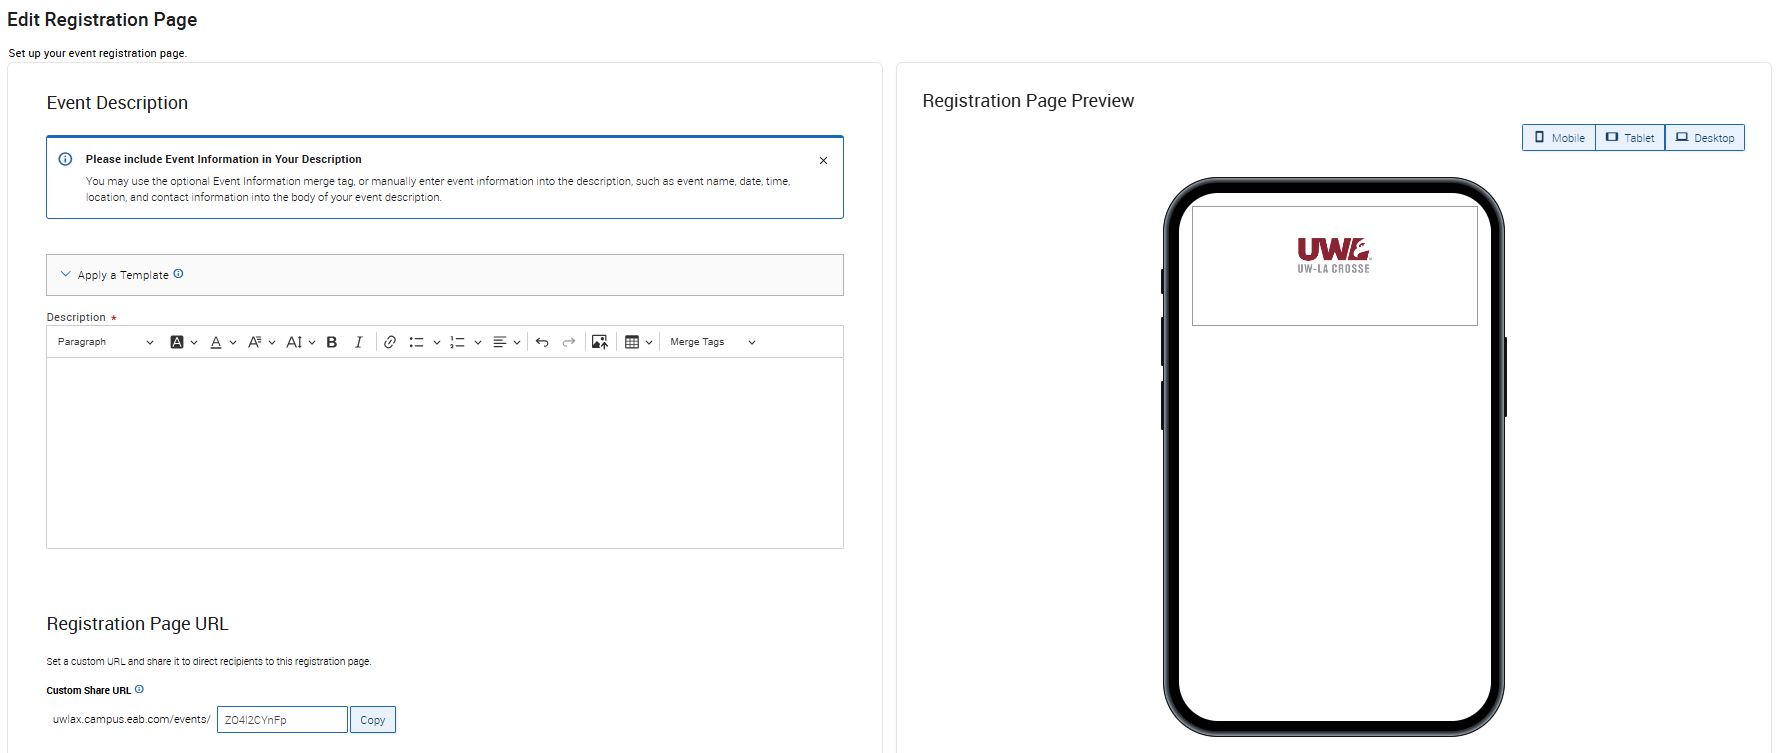
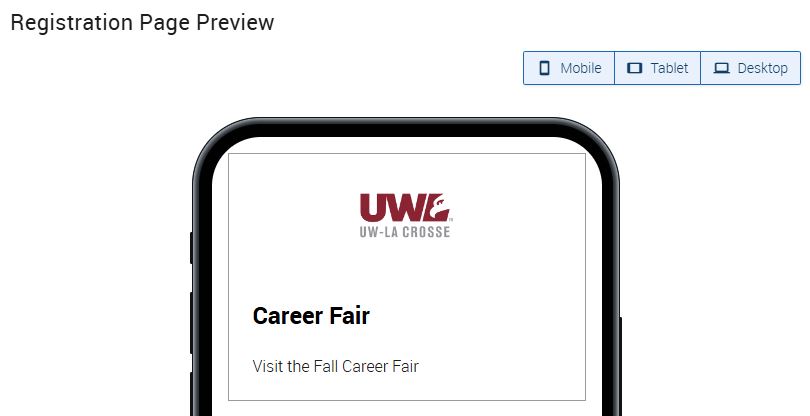
- You will now work on the Registration Page, this is the page where students will go when trying to RSVP to the event.
-
- Write the description for your event. You can use various tools to format your text, and can include hyperlinks. You can also upload images into your message.

- To quickly insert all of your event information, utilize the Merge Tag: Event Information

- As you create your registration page, you can preview how it will appear to students along the right side. You can change views to be from Mobile, Tablet, and Desktop
- Write the description for your event. You can use various tools to format your text, and can include hyperlinks. You can also upload images into your message.
-
- Registration Page URL: You can set a custom URL for your registration page, and that link can be shared with students as well.
Select Continue when you are done and ready to move on. - Add Recipients to your event. You can do this now, or later. However, once an event is published, you may not remove a recipient. You will need to be able to run reports to utilize the search filters. When you have selected the correct filters, click "Run Report"

- For help using the correct filters: Navigate360: Building V3 Reports
- Once you have identified the correct students, select those that you would like to add to the event by clicking the individual boxes next to their names OR select all from the top of the menu.
How to add students to the event 
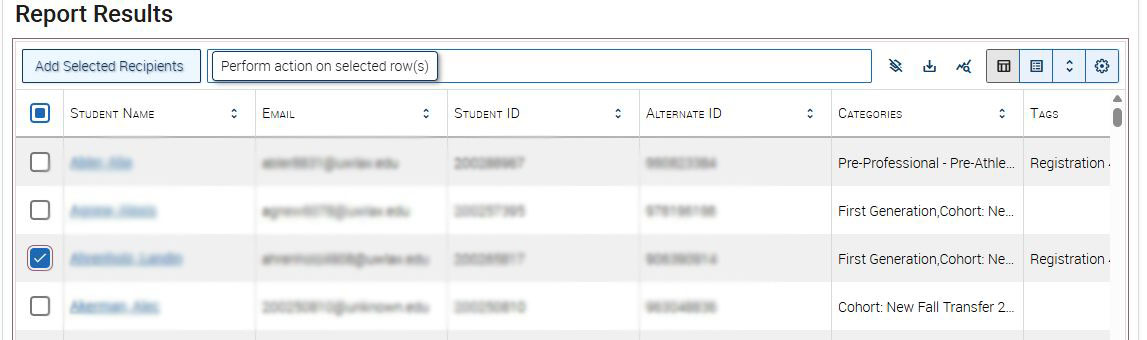
Click "Add selected recipients"
If you are adding more than 100 student names, be sure to click the Select All button on the bottom of the search results, or it will only add the first 100 students to the event.

- Review your recipient list for accuracy.
- If everything looks good, click Continue.
- If you need to add additional students, click "Add More Recipients" and use the same process as above to add more students.

- If everything looks good, click Continue.
- Compose your Messages
- Invitation
- click Add Invitation
- Compose your message, this menu looks very similar to other messaging menus within Navigate360. You can select Email or SMS for your invitation. If you are utilizing templates, you can select from previously saved templates here.
- You are able to view a preview of the message on the right hand side of the page.
- You can utilize merge tags to easily insert the RSVP link, student name, and/or event information

- When your invitation is complete, click Save Invitation. The invitation will send on the first day of your reservation window.
- Reminder to RSVP
- Click Add Reminder
- Follow the same steps as above to create your reminder. Reminders will send on the days that you select.
- Click Add Reminder
- RSVP Confirmation
- This is the message that students will receive when they RSVP. The messaging options here are the same as other messages
- When you have crafted your RSVP confirmation message, click Save Confirmation Message

- Reminder for Event (optional)
- This is the message that students will receive when they have RSVP'd yes to the event. The messaging options here are the same as other messages.
- You can select which date you would like the reminder to send

- When the message is complete, click Save Event Reminder
- Invitation
- When each message has been created, click Continue
- On the last page you can verify all of the correct selections have been made for your event. Then, if everything is as you would like it to be, you can Publish the event if you are ready to do so, or you can Save and Exit and publish the event later.