Navigate360: Saving a report in V3
Often, you will have reports that need to be ran regularly. In this case, it can be helpful to save your report criteria so you don't have to remember the specific filters or logic you have used each time.
Create a New saved report
After running your initial report, above where you have selected your filters, look for the "Save As" link.
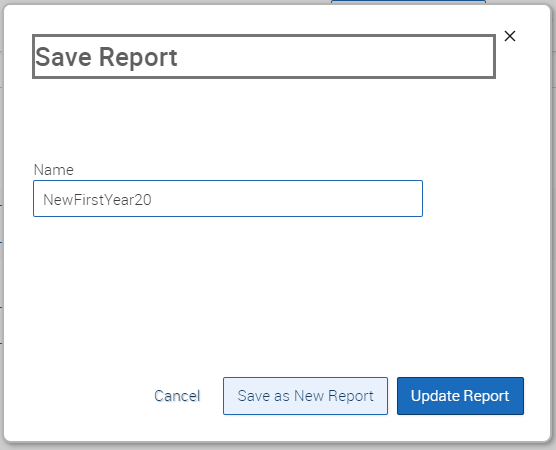
A new dialogue box will open, name the saved report something that will allow you to identify it again in the future. Then click "Save as New Report."
The title will now appear at the top of the report:
Locating a previously saved report
Select the Reports Icon 
Navigate360 will initially show your "My Saved Reports" tab first on the page. Click the title of the report you wish to run.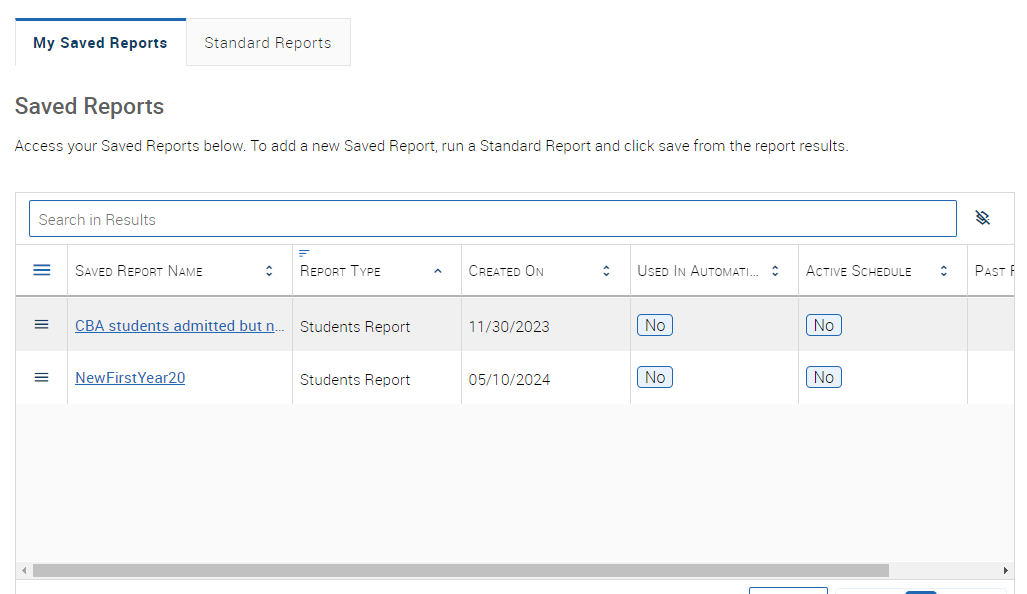
You will be brought to the screen where you can view the data and logic filters that were saved previously. If there are any changes you need to make, you can make those changes at this time. If your filters are all set correctly, click "Run Report".![]()
You can then take any of the same actions on your report data as shown here: Navigate360: Utilizing V3 Reports from the Actions Menu, Navigate360: Utilizing V3 Reports from the Results Menu, Navigate360: Sharing report filters and logic with another user
If you would like to edit any filters and re-save the report, click the "Save As" link and a new dialogue box will open.
You can then either change the name and "Save as a New Report" or "Update Report" with the same name, but new filters selected.